
How to Make Chicken Masala Gravy in 30 Minutes
Table of Contents
Chicken Masala Gravy Recipe :
Have You Ever Wondered What Makes a Restaurant-Style Chicken Dish So Irresistible?
Imagine walking into your favorite Indian restaurant, the aroma of spices filling the air as you anticipate the rich, creamy dish about to be served. But what if I told you that same irresistible taste could be created right in your own kitchen, and in just half an hour? Would you believe me? Today, we’re diving into the secrets behind making Chicken Masala Gravy at home—a dish so flavorful and satisfying, it might just become your new go-to meal
Overview: Why This Recipe Stands Out
Chicken Masala Gravy is more than just a meal; it’s an experience. What makes this recipe truly special is its balance of bold flavors with a velvety texture that pairs perfectly with naan or rice. Best of all, this dish can be prepared in under 30 minutes, making it ideal for busy weeknights or last-minute dinner parties. With minimal effort and readily available ingredients, even beginners can achieve restaurant-quality results. It’s not only quick but also surprisingly easy—perfect for anyone looking to add some spice (and comfort) to their lives!
Essential Ingredients: The Building Blocks of Flavor
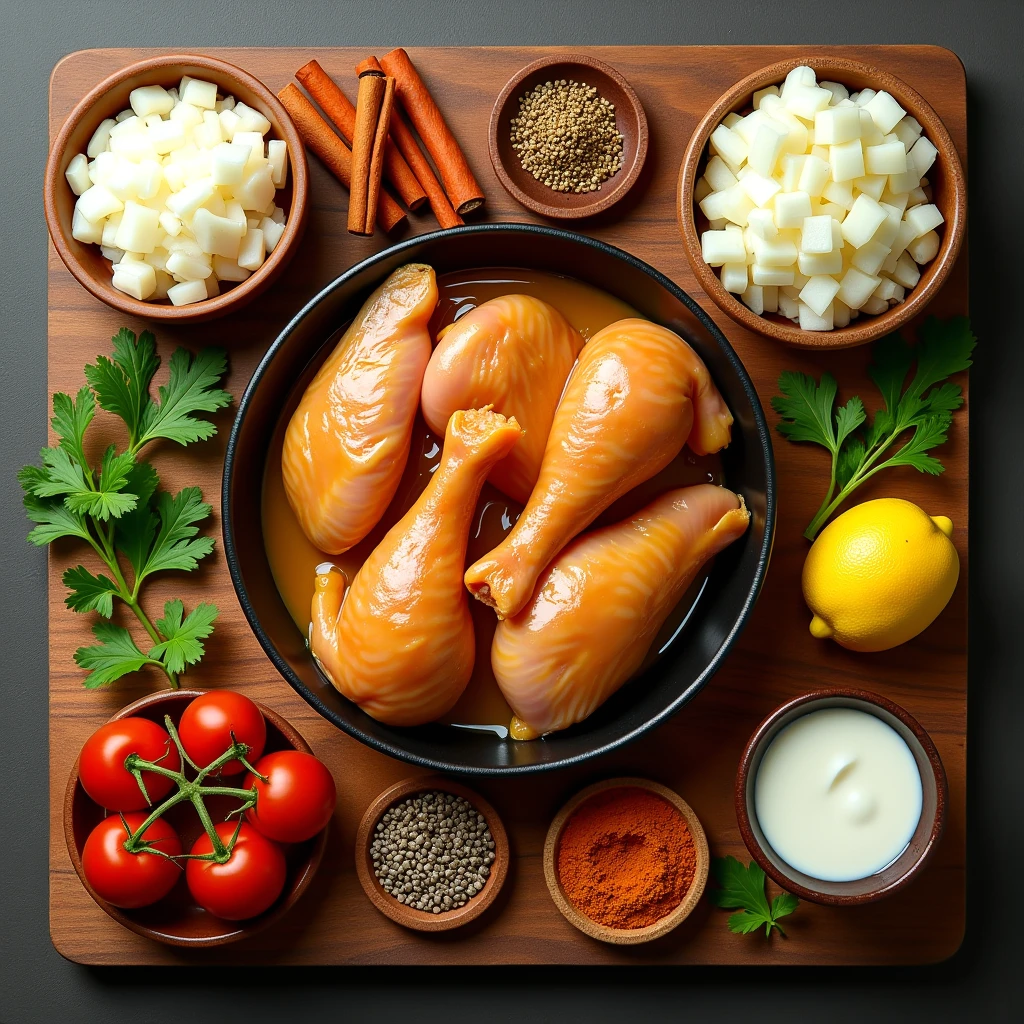
To create authentic Chicken Masala Gravy, you’ll need a few key players:
- Chicken : Lean cuts like boneless, skinless chicken breasts or thighs work best. They absorb flavor beautifully while staying tender.
- Spices : A blend of ground coriander, cumin, turmeric, garam masala, and Kashmiri chili powder forms the backbone of this dish. These spices contribute depth and warmth without overpowering the natural sweetness of the chicken
- Onions & Garlic : Finely chopped onions and minced garlic form the base of the gravy. Browning them lightly adds richness and complexity.
- Tomatoes : Fresh tomatoes pureed into a smooth paste provide acidity and body to the sauce.
- Cream/Yogurt : For that signature creaminess, heavy cream or yogurt is added towards the end. Coconut milk can serve as a dairy-free alternative.
- Oil/Butter : Use neutral-flavored oil or butter for sautéing aromatics. Ghee lends an extra layer of nuttiness if desired.
Substitutions and Variations:
- Swap out traditional yogurt for coconut milk for a tropical twist.
- Adjust spice levels by increasing or decreasing chili powder based on preference.
- Add bell peppers, mushrooms, or spinach for added nutrition and color.
Step-by-Step Instructions: Your Guide to Success
Preparation
- Begin by marinating the chicken. Toss cubed pieces with garam masala, salt, and lemon juice. Let sit for 10–15 minutes.
- In a food processor, pulse together ginger, garlic, and green chilies until finely minced
- .
Cooking Process
- Heat oil in a large skillet over medium heat. Once hot, add whole spices such as cinnamon stick, cardamom pods, and cloves. Sauté briefly to release fragrance.
- Throw in sliced onions and cook until golden brown. Stir frequently to prevent burning.
- Add the ginger-garlic paste and cook for another minute before incorporating the tomato puree. Cook until the mixture thickens and oil separates from the sides of the pan.
- Sprinkle in the dry spices—coriander, cumin, turmeric, and garam masala—and stir well to combine. Allow the spices to bloom for about 30 seconds.
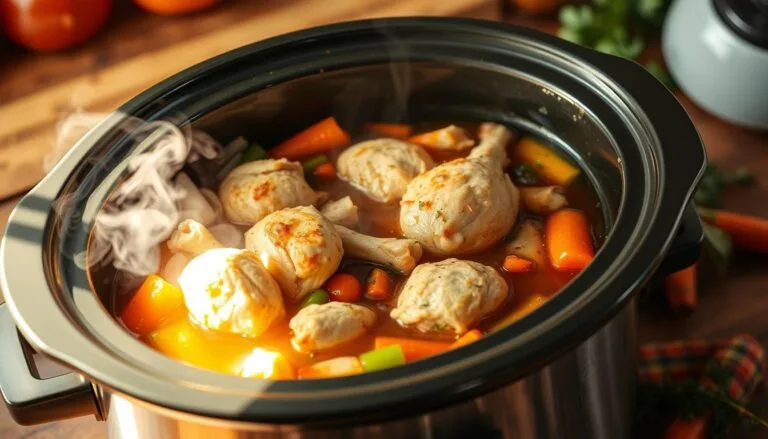
- Incorporate the marinated chicken into the pot. Stir gently to coat each piece evenly with the spiced gravy. Cover and let simmer for 10–12 minutes, turning occasionally, until the chicken is cooked through.
- Finish off the dish by stirring in cream or yogurt. Taste and adjust seasoning if necessary.
Tips:
- Browning onions thoroughly enhances flavor significantly.
- Don’t rush cooking the tomatoes; patience yields richer results.
- If the gravy seems too thick, thin it out with water or stock.
Assembly: Bringing It All Together
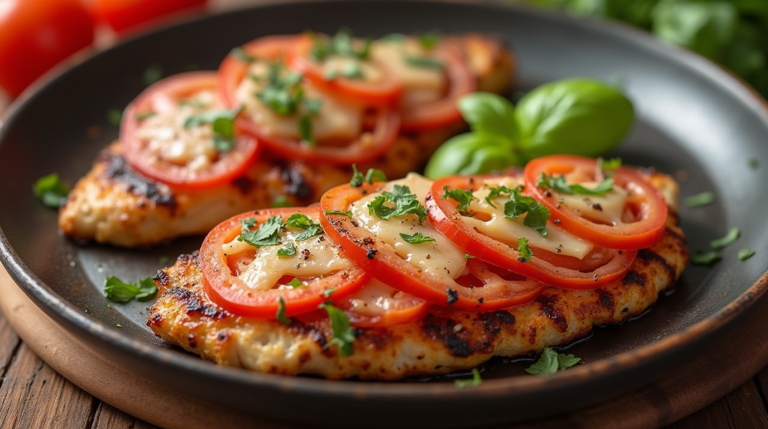
Once your Chicken Masala Gravy has reached perfection, presentation becomes the final touch. Serve hot alongside fluffy basmati rice or warm garlic naan bread. Garnish with fresh cilantro leaves for freshness and visual appeal. Remember, part of the joy lies in experimentation—feel free to sprinkle grated cheese on top or drizzle additional cream for decadence.
Storage and Make-Ahead Tips
Leftovers keep well when stored properly. Here’s how:
- Allow the dish to cool completely before transferring it to an airtight container.
- Refrigerate for up to three days or freeze portions for longer storage.
- When reheating, do so slowly over low heat, adding a splash of water or milk to maintain consistency.
Recipe Variations: Spice Things Up!
While classic Chicken Masala Gravy is delightful, there are countless ways to personalize it:
- Try substituting chicken with paneer for vegetarians.
- Experiment with different herbs like fenugreek leaves (kasoor methi) for enhanced aroma.
- For those watching calories, use low-fat yogurt instead of cream.
Conclusion: Time to Get Cooking!
Now that you know the ins and outs of creating Chicken Masala Gravy, why wait? Gather your ingredients, roll up your sleeves, and embark on a culinary adventure. Whether you’re feeding a crowd or treating yourself to something comforting after a long day, this dish promises satisfaction every time. Most importantly, don’t shy away from tweaking recipes to suit your tastes—after all, cooking should always be fun!
FAQs: Answers to Common Questions
Q: Can I make this dish ahead of time? A: Absolutely! Simply prepare it earlier and reheat just before serving. Adding a bit of liquid during reheating ensures it stays moist.
Q: Is Chicken Masala Gravy healthy? A: Yes, provided you use lean proteins and limit added fats. Opting for homemade versions allows better control over sodium and calorie content compared to store-bought options.
Q: How long does Chicken Masala Gravy stay good in the fridge/freezer? A: Up to three days in the refrigerator and several months in the freezer when sealed tightly
There you have it—a comprehensive guide to mastering Chicken Masala Gravy in under 30 minutes. Happy cooking!
Share Your Experience With us
There are no reviews yet. Be the first one to write one.