Chocolate Cake: 7 Tips for the Best Flavor Ever
Table of Contents
Have you ever wondered why some chocolate cakes taste better than others? Is it magic, or is there a secret formula behind that rich, melt-in-your-mouth goodness? Well, today we’re going to uncover the truth and share 7 secret tips that will transform your ordinary chocolate cake into an extraordinary dessert masterpiece. Are you ready to take your baking skills to the next level?
Overview: What Makes This Recipe Special?
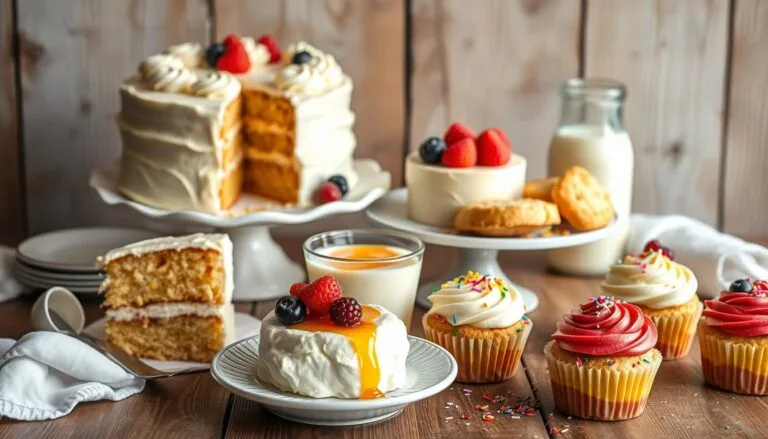
This isn’t just any chocolate cake—it’s the kind of dessert that makes people stop mid-bite and say, “Wow!” With its deep, decadent flavor and perfectly moist texture, this recipe is sure to impress even the pickiest eaters. The best part? It’s surprisingly easy to make! You’ll need about 1 hour from start to finish, including prep and baking time. And don’t worry if you’re new to baking; this recipe is beginner-friendly, so anyone can do it.
So, let’s dive in and discover what sets this chocolate cake apart from the rest!
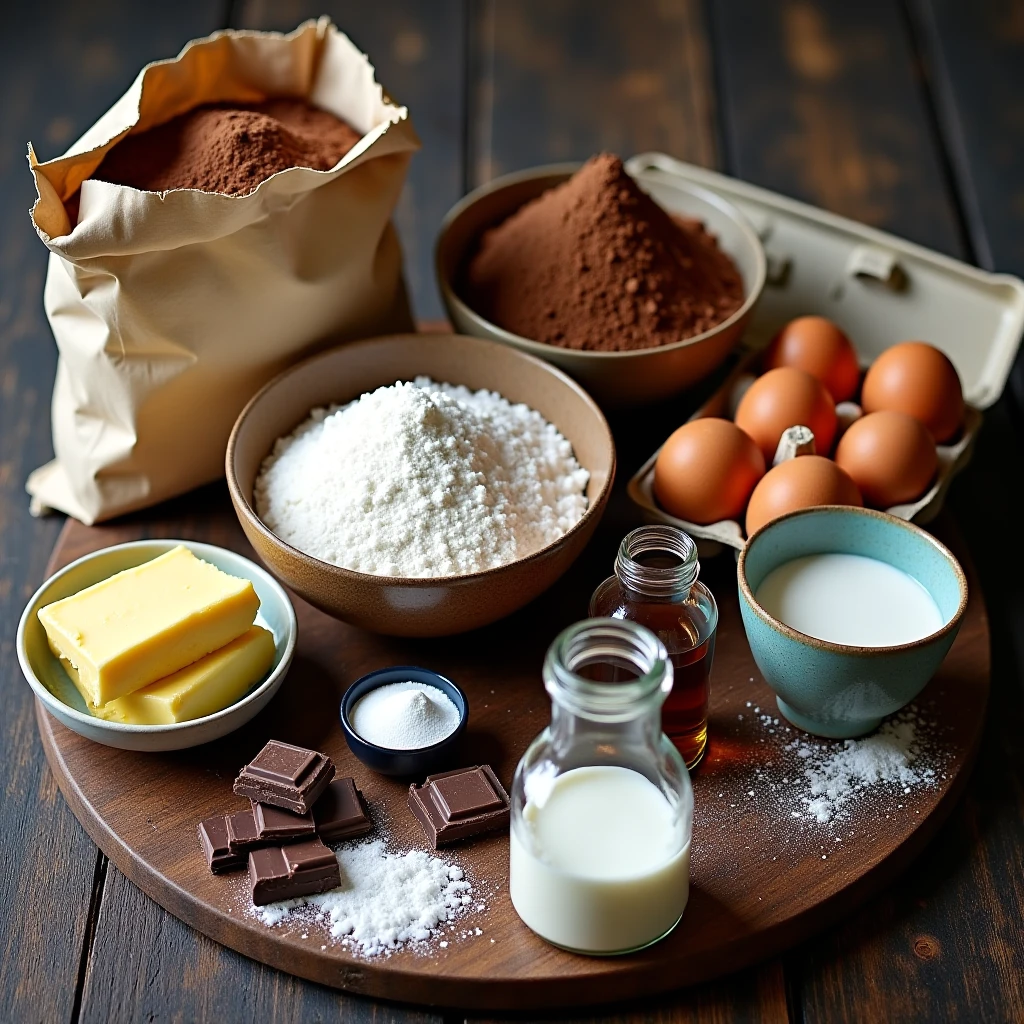
Essential Ingredients: The Building Blocks of Greatness
To create a truly unforgettable chocolate cake, you’ll need the right ingredients. Here’s what you’ll need, along with explanations of why each one matters:
- Flour : All-purpose flour provides structure to the cake. Without it, your cake might collapse or become too dense
.Sugar : Granulated sugar not only sweetens the cake but also helps keep it tender and moist.
Cocoa Powder : Use high-quality unsweetened cocoa powder for the richest chocolate flavor. Dark cocoa powder can give your cake an extra-deep color and taste .
Eggs : Eggs act as binders and add richness. Room-temperature eggs work best because they mix more evenly into the batter .
Oil vs Butter : Many experts recommend using oil instead of butter for a softer crumb and better moisture retention . However, butter adds a lovely flavor, so feel free to experiment!
Milk : Whole milk or buttermilk enhances creaminess and tenderness. If you don’t have buttermilk, you can make a DIY version by adding a splash of vinegar or lemon juice to regular milk .
Vanilla Extract : A little vanilla goes a long way in enhancing the overall flavor profile.
Baking Soda & Baking Powder : These leavening agents help the cake rise properly. Make sure they’re fresh for optimal results.
Optional Add-ins : Consider espresso powder (yes, coffee!) to deepen the chocolate flavor without making it taste like coffee, or a pinch of salt to balance sweetness.
Substitutions and Variations:
If you’re out of certain ingredients or want to get creative, here are some ideas:
- Swap almond milk or oat milk for dairy milk for a vegan option.
- Replace white sugar with brown sugar for a caramel-like twist.
- Add nuts, chocolate chips, or fruit for added texture and excitement.
Step-by-Step Instructions: Your Path to Perfection
Now that you’ve gathered your ingredients, let’s walk through the process step by step. Follow these instructions carefully, and you’ll end up with a show-stopping chocolate cake.
Step 1: Preheat Your Oven
Preheat your oven to 350°F (175°C). Grease two 8-inch round pans and line them with parchment paper to prevent sticking.
Step 2: Mix Dry Ingredients
In a large bowl, whisk together:
- 1 ¾ cups all-purpose flour
- 1 ½ cups granulated sugar
- ¾ cup unsweetened cocoa powder
- 1 ½ teaspoons baking powder
- 1 teaspoon baking soda
- 1 teaspoon salt
- 1 teaspoon espresso powder (optional)
Mix until well combined. Sifting the dry ingredients ensures no lumps remain, which leads to a smoother batter
Step 3: Combine Wet Ingredients
In another bowl, combine:
- ¾ cup vegetable oil or melted butter
- 2 large eggs
- 1 teaspoon vanilla extract
- 1 cup whole milk or buttermilk
Beat until smooth and creamy.
Step 4: Combine Wet and Dry Ingredients
Slowly add the wet ingredients to the dry ones, stirring lightly until just mixed. Avoid overmixing to prevent the cake from becoming tough.
Step 5: Pour Batter Into Pans
Divide the batter evenly between the prepared pans. Tap the pans lightly on the counter to release any air bubbles.
Step 6: Bake Until Done
Bake for 25–30 minutes, or until a toothpick inserted into the center comes out clean. Let the cakes cool completely before frosting.
Assembly: Putting It All Together
Once your cakes are cooled, it’s time to assemble and decorate. Here’s how:
- Level the Cakes : Use a serrated knife to slice off the domed tops of the cakes for flat layers.
- Add Filling : Spread a layer of frosting or ganache between the layers for extra indulgence.
- Frost the Outside : Frost like a pro by applying a thin crumb coat first, then adding a thicker layer once the crumb coat has set
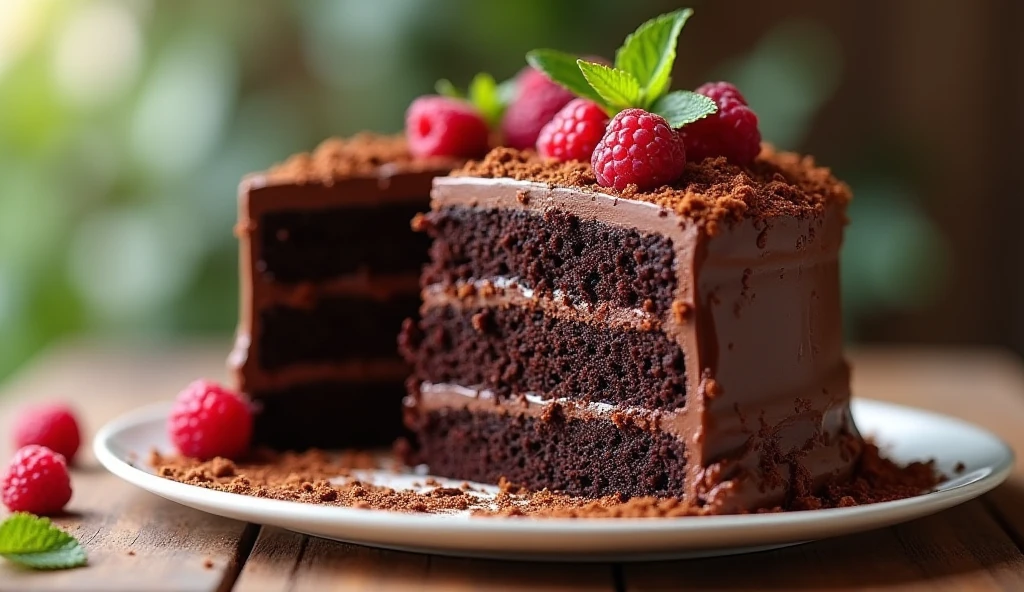
- Decorate : Get fancy with sprinkles, chocolate shavings, or fresh berries. Presentation is key!
Pro Tip: For a professional look, chill the cake briefly after frosting to firm up the icing.
Storage and Make-Ahead Tips: Keep It Fresh
No one likes stale cake, so here’s how to keep yours tasting fresh:
- Keep leftover cake in a sealed, airtight container at room temperature for up to 3 days.
- For longer storage, wrap each slice individually in plastic wrap, then place them in a freezer-safe bag. This method preserves the cake for up to 3 months.
- Reheat slices in the microwave for 10 seconds or toast them lightly in the oven for a warm treat.
Recipe Variations: Get Creative!
Once you’ve mastered the basics, try these fun variations:
- Red Velvet Twist : Add red food coloring and a hint of vinegar for a classic red velvet effect.
- Nutella Layer : Spread Nutella between the layers for a hazelnut-chocolate combo.
- White Chocolate Ganache : Drizzle white chocolate over the top for contrast.
- Gluten-Free Option : Substitute gluten-free flour blend for all-purpose flour.
Conclusion: Enjoy the Journey
Making a great chocolate cake doesn’t have to be intimidating. By following these 7 secret tips, you’ll achieve a delicious result every time. Don’t be afraid to experiment with flavors and decorations—after all, baking should be fun! So grab your apron, turn on some music, and enjoy creating something truly special.
FAQs: Answers to Common Questions
Q: Can I use dark chocolate instead of cocoa powder? A: Absolutely! Melted dark chocolate can replace some of the cocoa powder for an intense chocolate experience
Q: How healthy is this chocolate cake? A: While it’s not exactly a health food, this cake uses wholesome ingredients like eggs and milk, plus optional nutrient-rich add-ins like nuts or fruits.
Q: Can I bake this cake ahead of time? A: Yes! Bake and frost the cake up to 2 days in advance, keeping it covered at room temperature. Or freeze the unfrosted layers for longer storage
Happy baking, and remember—the secret to success lies in love, patience, and maybe a dash of coffee!
Share Your Experience With us
There are no reviews yet. Be the first one to write one.