
Cheesecake Filling Tub Best 4 Ways to Upgrade It
Table of Contents
Cheesecake Filling Tub:
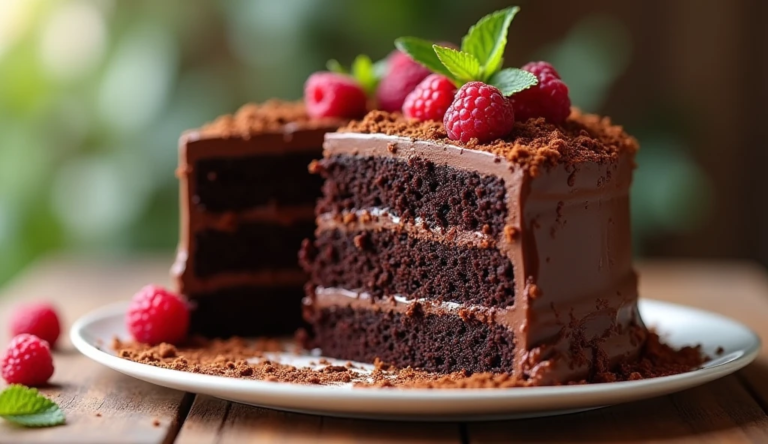
Have you ever stared at that tub of Philadelphia cheesecake filling sitting in your refrigerator and wondered if there’s more to it than just spooning it into a pre-made graham cracker crust? What if that humble tub could transform into spectacular desserts that would impress even your most discerning guests?
Overview
Store-bought Philadelphia cheesecake filling is a convenient shortcut that can save you time and effort when making desserts. While delicious on its own, with just a few simple additions and techniques, you can elevate this pre-made filling into something truly special. These upgrades are quick (taking just 10-20 minutes of prep time), easy (perfect for beginners), and incredibly versatile for any occasion.
Essential Ingredients
To upgrade your Philadelphia cheesecake filling tub, you’ll need:
- Philadelphia cheesecake filling tub (17.5 oz): This forms the creamy base for all our upgrades
- Fresh fruits: Berries, peaches, or tropical fruits add natural sweetness and color
- Cookies or crackers: For crusts and mix-ins (graham crackers, Oreos, vanilla wafers)
- Extracts and flavorings: Vanilla, almond, lemon, or others to enhance the flavor
- Whipped cream: To lighten the texture and add volume
- Chocolate: Chips, shavings, or sauce for decadent variations
- Nuts: Toasted pecans, walnuts, or almonds for crunch and flavor
Substitutions:
- Lactose-free cream cheese products can replace Philadelphia filling for those with sensitivities
- Greek yogurt mixed with sugar can substitute in a pinch (though texture will differ)
- Low-fat versions work well for lighter options
Step-by-Step Instructions for 4 Amazing Upgrades
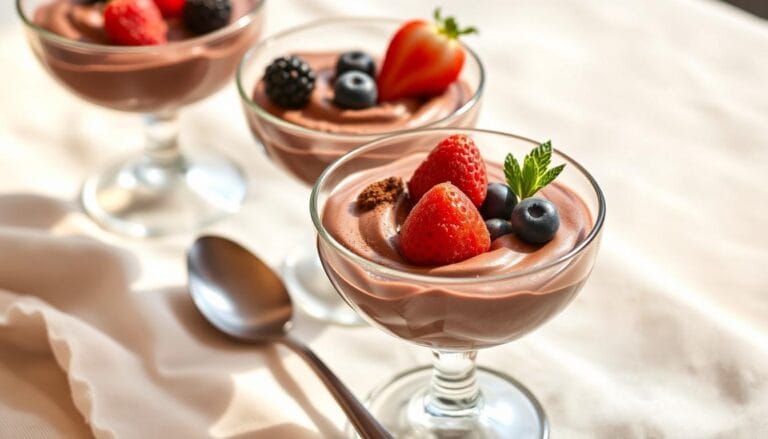
Upgrade #1: Layered Berry Parfaits

- In a small bowl, stir the Philadelphia cheesecake filling until smooth
- In a separate bowl, mix 1 cup fresh berries with 1 tablespoon sugar
- Crush 4 graham crackers into crumbs
- In clear glasses, layer: graham cracker crumbs, cheesecake filling, berries
- Repeat layers ending with berries on top
- Chill for at least 30 minutes before serving
Tips:
- Let the filling sit at room temperature for 10 minutes to soften for easier layering
- Use a piping bag for neater layers
- Mix different colored berries for visual appeal
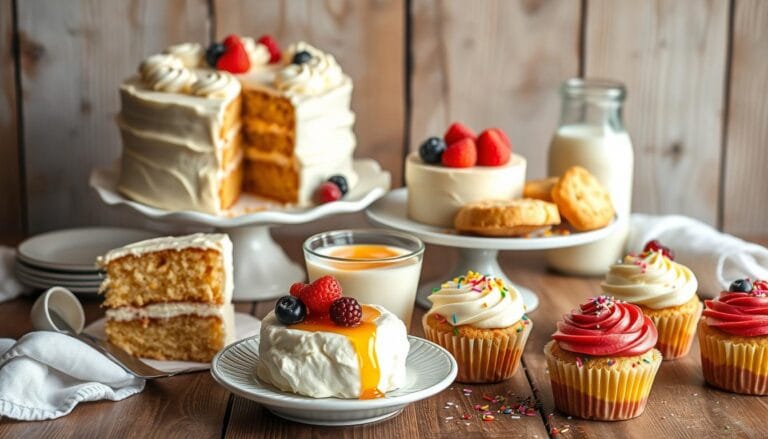
Upgrade #2: No-Bake Mini Cheesecakes

- Mix the Philadelphia cheesecake filling with 1 teaspoon vanilla extract
- Combine 1 cup graham cracker crumbs with 3 tablespoons melted butter
- Press crumb mixture into the bottom of cupcake liners in a muffin tin
- Spoon or pipe the filling over each crust
- Refrigerate for at least 2 hours
- Top with fresh fruit, chocolate sauce, or caramel before serving
Tips:
- For firmer mini cheesecakes, fold in 1/2 cup whipped topping to the filling
- Use a cookie scoop for equal portions
- Freeze for 15 minutes before removing from liners for cleaner edges
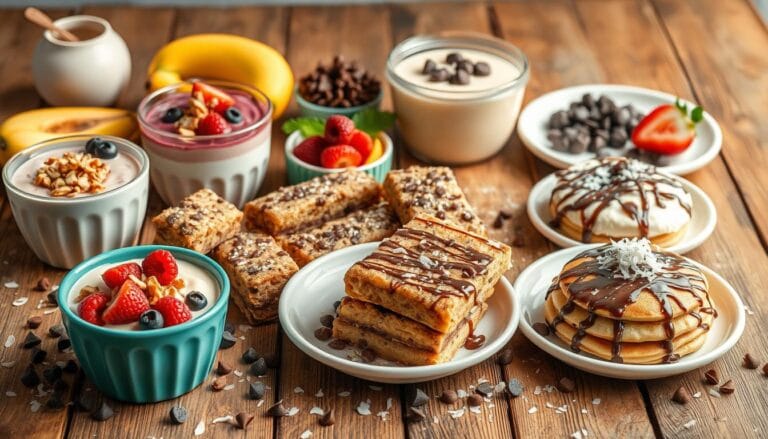
Upgrade #3: Cheesecake Dip

- Empty the Philadelphia cheesecake filling into a mixing bowl
- Fold in 1/2 cup whipped topping for a lighter texture
- Add mix-ins of your choice: mini chocolate chips, crushed cookies, or chopped nuts
- Transfer to a serving bowl
- Serve with graham crackers, fruit slices, or pretzels for dipping
Tips:
- Keep dip chilled until ready to serve
- Swirl in fruit preserves for a marbled effect
- Sprinkle toppings around the edge of the bowl for decoration
Upgrade #4: Frozen Cheesecake Pops

- Mix cheesecake filling with 1/4 cup crushed cookies
- Scoop mixture into silicone ice pop molds or small paper cups
- Insert popsicle sticks
- Freeze for at least 4 hours
- To serve, dip briefly in warm water to release, then dip in melted chocolate and sprinkles
Tips:
- Work quickly when dipping in chocolate as the pops melt fast
- For marbled pops, swirl in a small amount of fruit preserves before freezing
- Double-dip in white and dark chocolate for extra decadence
Assembly
Creating Beautiful Presentations
For parfaits and mini cheesecakes:
- Use clear glasses or jars to showcase the layers
- Add height with whipped cream piped on top
- Garnish with fresh mint leaves, citrus zest, or edible flowers
For cheesecake dip:
- Serve in a hollowed-out fruit like a pineapple for tropical themes
- Arrange dipping items in a circle around the bowl
- Use small cookie cutters to shape dippers into fun forms
For frozen pops:
- Display standing upright in a decorative container filled with crushed ice
- Wrap individual pops in parchment paper with decorative twine
- Create a color theme with coordinated sprinkles and fruit toppings
Storage and Make-Ahead Tips
- Parfaits and Mini Cheesecakes: Can be made up to 2 days ahead and stored covered in the refrigerator. Add fresh fruit toppings just before serving.
- Cheesecake Dip: Best made the same day but can be stored covered in the refrigerator for up to 3 days. Stir well before serving.
- Frozen Cheesecake Pops: Can be stored in the freezer for up to 2 weeks. Wrap individually in plastic wrap after the chocolate coating has set.
- Leftover Philadelphia Cheesecake Filling: Once opened, use within 7 days. Store in the original container with the lid tightly sealed.
Recipe Variations
Seasonal Adaptations
Spring/Summer:
- Stir in lemon zest and top with fresh berries
- Mix with pureed mango and coconut flakes for a tropical twist
- Swirl in strawberry preserves and fresh sliced strawberries
Fall/Winter:
- Add pumpkin puree and pumpkin spice
- Mix with apple butter and top with caramel sauce
- Swirl in crushed peppermint candies for a holiday treat
Dietary Adaptations
Lower Sugar:
- Mix filling with unsweetened Greek yogurt to reduce sweetness
- Top with fresh berries instead of sweetened sauces
- Use sugar-free cookies for crusts
Fun Kids’ Options:
- Mix in colorful sprinkles for “funfetti” cheesecake
- Layer with different colored Jell-O for rainbow parfaits
- Create a “cookie monster” version with blue food coloring and cookie pieces
Conclusion
With these four easy upgrades, that humble tub of Philadelphia cheesecake filling can become the star of your dessert table! From elegant parfaits to fun frozen pops, these no-bake Philadelphia cheesecake recipes offer something for everyone. The best part? They require minimal preparation time while delivering maximum flavor and presentation impact.
Don’t be afraid to get creative and experiment with your own variations. Whether you’re preparing a quick weeknight treat or an impressive dessert for guests, these upgraded Philadelphia no-bake cheesecake ideas will have everyone asking for your secret recipe!
Frequently Asked Questions
Q: Can I make these desserts ahead of time for a party? A: Yes! The mini cheesecakes and frozen pops can be made 1-2 days ahead. Parfaits are best made the same day but can be assembled a few hours before serving.
Q: How long does an opened tub of Philadelphia cheesecake filling last? A: Once opened, use the filling within 7 days, keeping it refrigerated with the lid tightly secured.
Q: Can I freeze leftover Philadelphia cheesecake filling? A: While not recommended by the manufacturer, you can freeze it for up to 1 month. The texture may change slightly upon thawing.
Q: Is Philadelphia cheesecake filling gluten-free? A: The filling itself doesn’t contain gluten, but check the label for any cross-contamination warnings. Use gluten-free cookies for crusts if needed.
Q: Can I use light cream cheese or neufchâtel cheese to make my own filling? A: Yes, you can make your own filling with 8 oz light cream cheese, 1/3 cup sugar, and 1 teaspoon vanilla, though the texture may be slightly different.
Q: What’s the difference between Philadelphia cheesecake filling and regular cream cheese? A: The filling is already sweetened and has a lighter, fluffier texture than regular cream cheese, making it ready to use in no-bake recipes.
Share Your Experience With us
There are no reviews yet. Be the first one to write one.